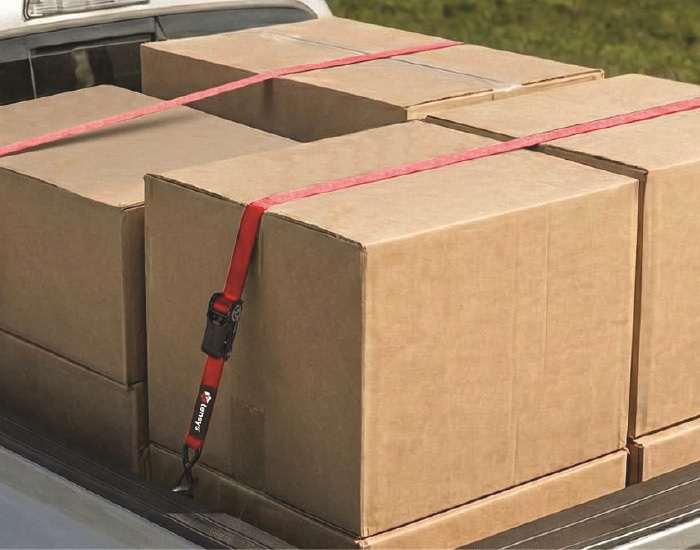
Ratchet straps are among the most commonly-used load restraint systems in road transport. However, some operators fail to fasten their ratchet straps correctly before setting off, reducing the straps' effectiveness and increasing the risk of load movement during transit.
A properly-fastened ratchet strap goes a long way towards keeping your goods safe while also protecting other road users and helping you to meet your legal responsibilities for load security.
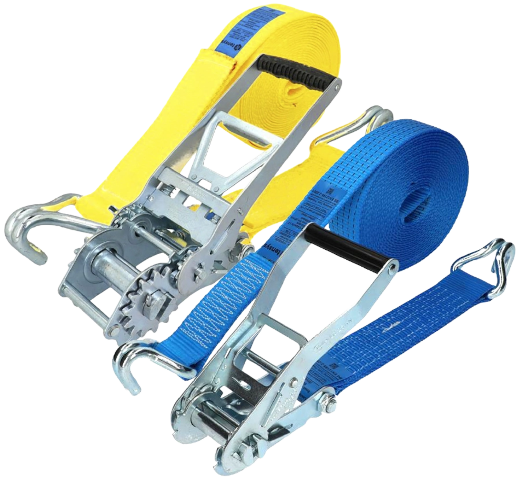
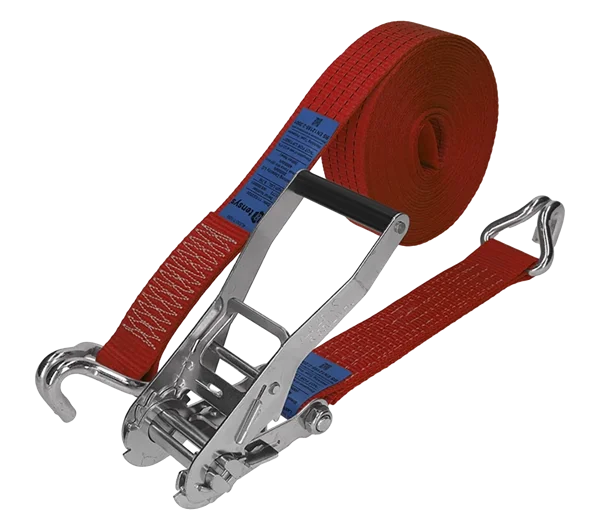
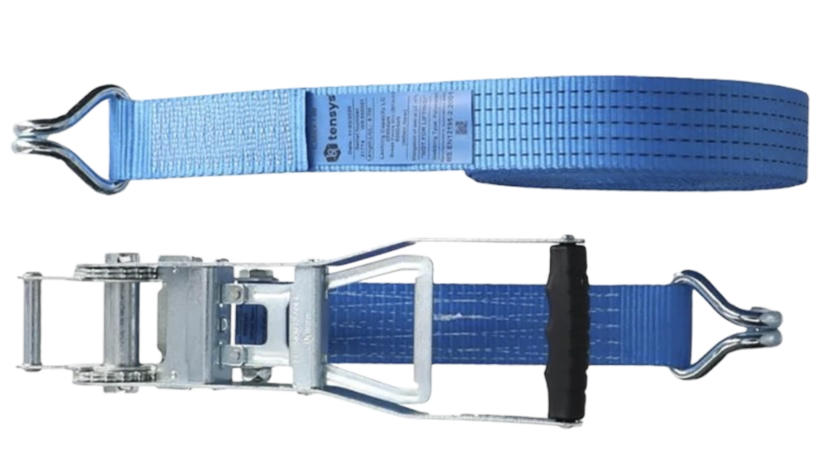
Ratchet straps that are manufactured and labelled to BS EN 12195-2:2001 are specifically designed for load restraint applications on road vehicles and should always be used in accordance with good load securing practices. Here's a typical example of what such a strap might look like:
Read on to learn how to fasten a ratchet strap correctly.
Before You Start
You should always inspect a ratchet strap before using it. Check for:
-
Cuts or tears in the webbing
-
Excessive abrasion
-
Heat or chemical damage
-
Bent or damaged hooks
-
Corroded or damaged ratchet components
-
Missing or unreadable labels
A strap with a damaged webbing section or an unreadable label should be removed from service.
Here are some examples of how a damaged ratchet strap might look:
Step 1: Position the Load
Before fitting any restraints, make sure the load is positioned correctly on the vehicle. It should be nice and stable, with even weight distribution to minimise the risk of movement.
Remember: your ratchet strap is only one part of the complete load-securing system. For example, you might also consider placing a friction mat under the load for extra security.
Step 2: Connect the End Fittings
Attach the strap's hooks or end fittings to suitable lashing points on the vehicle. Be sure to:
-
Use designated load anchor points only.
-
Check that the hooks are on securely and won't detach during the journey.
-
Avoid side-loading the hooks.
You must NEVER fit hooks to lashing points whose diameter is too large for the hook. See our previous article Choosing the Correct Hook Size for more information on this.
Also, you should NEVER attach a ratchet strap to bodywork, curtains or components that are not designed for loadbearing.
Step 3: Route the Webbing
Pass the webbing over or around the load depending on the securing method being used.
For a typical over-the-top lashing:
-
Route the strap over the top of the load.
-
Ensure the strap remains flat.
-
Protect the strap where it passes over edges.
For direct lashing:
-
Attach the strap between the lashing point on the vehicle and a suitable securing point on the load.
-
Ensure the straps remains flat, without any twists.
-
Protect the strap where it crosses with others or contacts sharp or abrasive edges.
Whichever method you're using, take care to avoid twists in the webbing. Twisted straps don't perform as well and can result in uneven loading.
WARNING: Watch out for sharp corners and edges!
A ratchet strap's webbing can easily become damaged when tensioned against sharp corners/edges and subjected to the vibration of a vehicle in motion.
Always use corner protectors and wear sleeves when securing loads with sharp corners or exposed edges.
Step 4: Open the Ratchet Fully
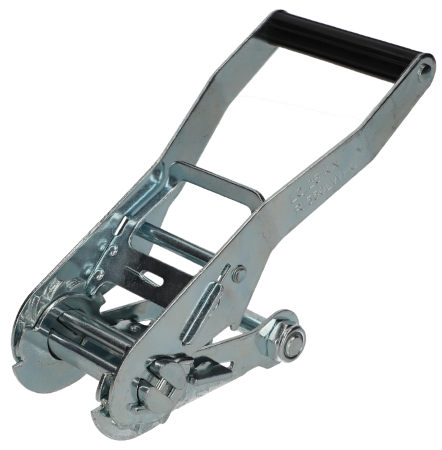
Pull the ratchet handle until it is fully open. This exposes the centre spindle where the webbing is inserted.
The slot in the spindle should be clearly visible.
Step 5: Thread the Strap
Feed the free end of the webbing through the spindle slot from underneath.
Pull the strap through until most of the slack is removed by hand.
The webbing should:
-
Lay flat
-
Be centred in the spindle
-
Not be twisted
-
Have sufficient tail remaining
Correct threading is essential for efficient tensioning.
Step 6: Remove Slack by Hand
Before operating the ratchet:
-
Pull as much webbing through as possible.
-
Remove unnecessary slack.
-
Position the ratchet where it can be operated safely.
Many users rely on the ratchet to take up large amounts of slack. Doing so wastes time and can result in the spool becoming overloaded. Ideally the ratchet strap will be correctly tensioned when there have been at least 2.25 complete turns of the spreader bar after threading.
Step 7: Apply Tension
Operate the ratchet handle back and forth. Each stroke wraps the webbing around the spindle and increases tension in the strap.
Continue until:
-
The load is secure.
-
The strap is tight.
-
The restraint force required has been achieved.
Note: excessive force can damage equipment and overload vehicle anchor points.
Do not use extension bars or 'levers' on standard ratchets unless specifically authorised by the manufacturer.
Step 8: Lock the Ratchet
Once adequate tension has been applied:
-
Close the handle fully.
-
Make sure the locking pawls engage.
-
Check that the ratchet will not open accidentally.
A correctly-closed ratchet should sit in its locked position with the handle flat against the frame.
Step 9: Secure the Loose Tail
One of the most commonly-overlooked steps involves securing the loose end of the webbing.
Tie or retain any excess webbing so that it cannot flap in the wind, become entangled, cause damage to the load or distract other road users.
A truly professional operator should always secure any loose tails before setting off.
Step 10: Final Checks Before Departure
Walk around the vehicle and confirm that:
-
All hooks are engaged
-
Ratchets are locked
-
Webbing is untwisted
-
Edge protection is fitted where required
-
Loose tails are secured
-
The load is stable
After travelling a short distance, stop and recheck tension. Loads can sometimes re-settle during the first few miles of a journey.
Common Mistakes to Avoid
Twisted Webbing
Twists reduce effective contact with the load.
Using Damaged Straps
Damaged straps should be withdrawn from service immediately.
Over-Tensioning
More force does not always mean better restraint.
Ignoring Sharp Edges
A strap can fail rapidly if it is tensioned against an unprotected edge.
Using Ratchet Straps for Lifting
Ratchet straps manufactured to BS EN 12195-2 are load restraint products only. They must NEVER be used for lifting, hoisting, recovery or suspending loads. For more information, see Can You Use Ratchet Straps for Lifting?
The Bottom Line
Fastening a ratchet strap correctly is more than simply pulling a handle. Proper inspection, threading, tensioning and protection of the webbing all play a vital role in keeping loads secure.
A correctly-fastened ratchet strap should be:
-
Undamaged
-
Properly labelled
-
Correctly threaded
-
Tensioned appropriately
-
Locked securely
-
Protected from sharp edges
Getting these fundamentals right will help to prevent damage and make everyone on the road safer.
Buy Ratchet Straps from Tensys Direct
Author's Note: This guide relates to load restraint straps manufactured to BS EN 12195-2:2001 and should be read alongside vehicle-specific load securing procedures and BS EN 12195-1 load restraint calculation requirements where applicable.